Walkthrough: Create SharePoint 2010 Workflow Association Form and Initiation Form in Visual Studio 2010 by using Application Pages (Part 2 of 2)
This is Part 2 of 2 that describes the steps 18 to 27 . You will find Part 1 here: https://blog.kenaro.com/2011/04/24/walkthrough-create-sharepoint-2010-workflow-association-form-and-initiation-form-in-visual-studio-2010-by-using-application-pages-part-1-of-2/
The followings steps describe how to create a new sequential workflow in a Visual Studio 2010 project and associate a Initiation and Association Form with the workflow. Furthermore we will test the project. – In Part 1 we have created:
- a Workflow Task list definition: “Workflow 2 Tasks”
- a Workflow Host List definition: “Workflow 2 Host List”
- a Data class: “Workflow2Data”
- a base class “Workflow2DataPages” for the association and initiation form.
- a Association Form
- a Initiation Form.
Now we will go on.
Let’s start…
18. Deploy the project  - This will create the list instances we need to create the workflow and assign them to lists for debug purpose. Of course you do not need to assign lists (such as Workflow Task List, History List, …) to the workflow at design time in Visual Studio. You could do this later, e.g. in a Feature Receiver.
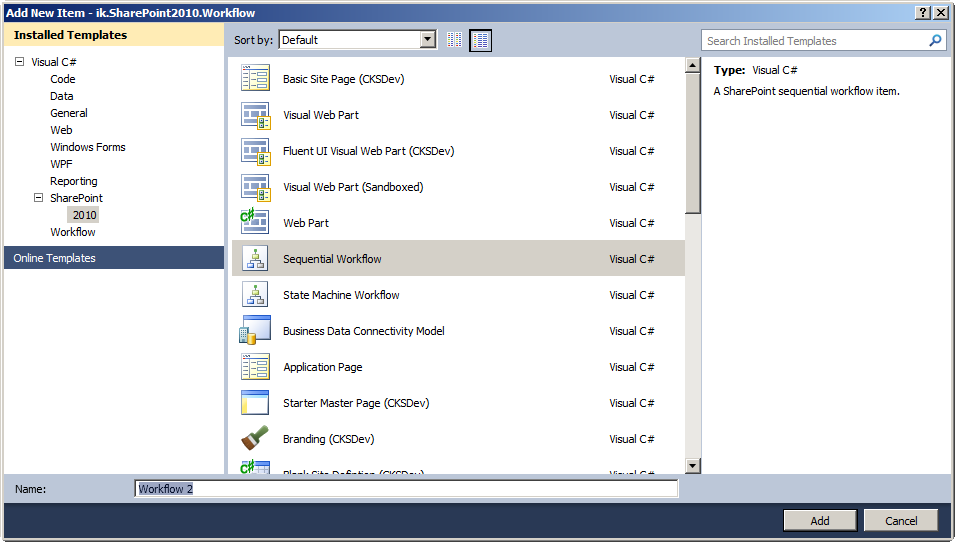
19. Add a “Sequential Workflow” project item named “Workflow 2”.
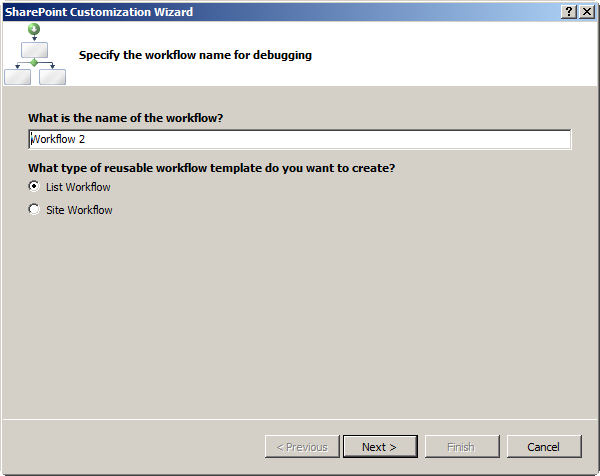
Set “Workflow 2” as display name and “List workflow” as type.
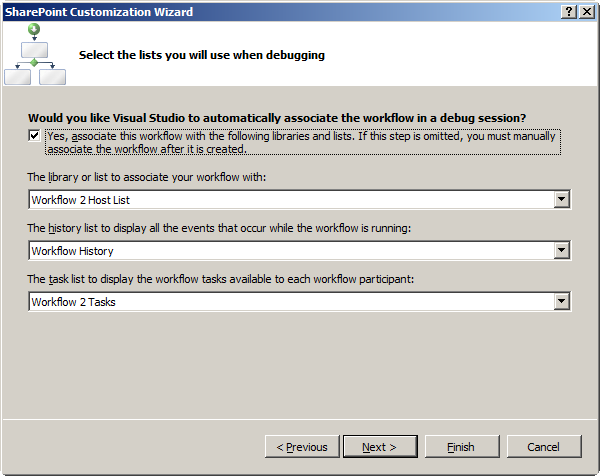
Set “Workflow 2 Host List” as “library or list to associate with”, choose “Workflow History” in the second dropdown and choose “Workflow 2 Tasks” as list for “workflow tasks” in the third dropdown.
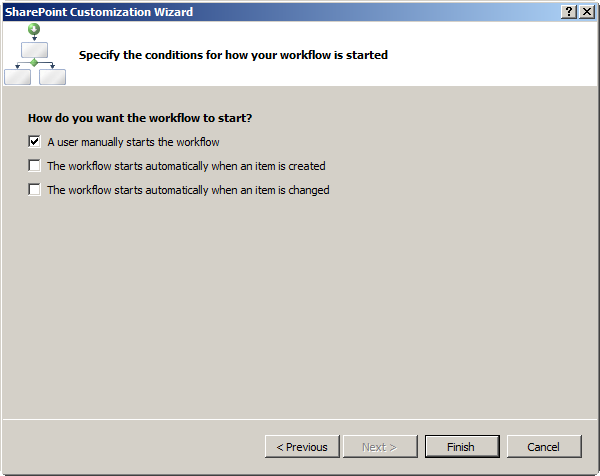
Now choose only “Start manually” in the next dialog.
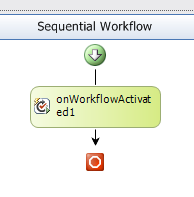
20. Now the workflow designer opens.
Double click on “onWorkflowActivated1”. A new class member will be created in the workflows “codebehind” file.
Now add the following “usings” at the beginning of the file:
using System.IO;
using System.Xml;using System.Xml.Serialization;
Above the previously created class member “onWorkflowActivated1_Invoked” add the following code. This will create a dependency property that will be persisted in the workflows data.
(You can use Visual Studio IntelliSense: type “propdp” and press “tab” two times. Then the structure of a new dependency property will be created.)
public Workflow2Data WorkflowDataAssociation
{
    get
    {
        return (Workflow2Data)GetValue(WorkflowDataAssociationProperty);
    }
    set
    {
        SetValue(WorkflowDataAssociationProperty, value);
    }
}

// Using a DependencyProperty as the backing store for WorkflowDataAssociation.
//   This enables animation, styling, binding, etc...
public static readonly DependencyProperty WorkflowDataAssociationProperty =
    DependencyProperty.Register("WorkflowDataAssociation", typeof(Workflow2Data), typeof(Workflow_2));
Now add another dependency property of the “Initiation” data:
public Workflow2Data WorkflowDataInitiation
{
    get
    {
        return (Workflow2Data)GetValue(WorkflowDataInitiationProperty);
    }
    set
    {
        SetValue(WorkflowDataInitiationProperty, value);
    }
}

// Using a DependencyProperty as the backing store for WorkflowDataInitiation.  This enables animation, styling, binding, etc...
public static readonly DependencyProperty WorkflowDataInitiationProperty =
    DependencyProperty.Register("WorkflowDataInitiation", typeof(Workflow2Data), typeof(Workflow_2));
We need to do this because Association and Initiation data are stored separatly.
In the method “onWorkflowActivated1_Invoked” enter this code:
using( StringReader stringReader = new StringReader(workflowProperties.AssociationData) )
{
    using( XmlReader reader = XmlReader.Create(stringReader) )
    {
        XmlSerializer serializer = new XmlSerializer(typeof(Workflow2Data));
        WorkflowDataAssociation = (Workflow2Data)serializer.Deserialize(reader);
    }
}

using( StringReader stringReader = new StringReader(workflowProperties.InitiationData) )
{
    using( XmlReader reader = XmlReader.Create(stringReader) )
    {
        XmlSerializer serializer = new XmlSerializer(typeof(Workflow2Data));
        WorkflowDataInitiation = (Workflow2Data)serializer.Deserialize(reader);
    }
}
This will deserialize the workflows association data for using them inside the workflows code.
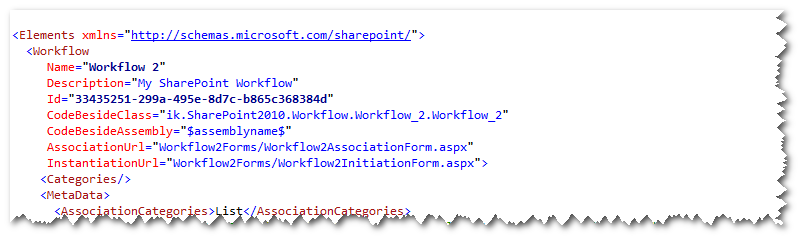
21. Now we need tho modify the “Elements.xml” file of the “Workflow 2” project item.
We add the attribute “AssociationUrl” and set it’s value to “Workflow2Forms/Workflow2AssociationForm.aspx” and add the attribute “InstantiationUrl” with value “Workflow2Forms/Workflow2InitiationForm.aspx”.
22. Now we can deploy the project and see the first results of our (hard) work.
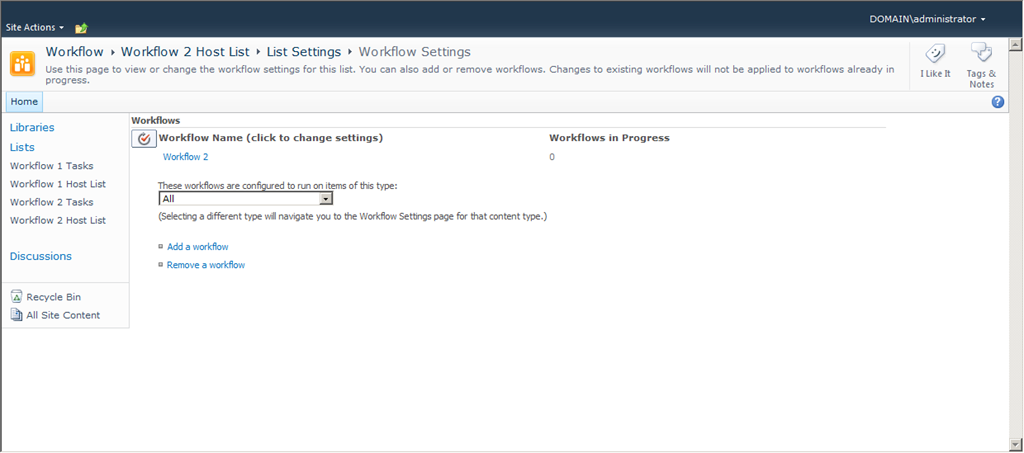
23. Open the URL “http://sharepoint.local/sites/workflow/Lists/Workflow2HostList” in the browser.
Then open the “List” tab in the Ribbon and click “Workflow Settings”.
Now you should see the associated “Workflow 2”:
Click them.
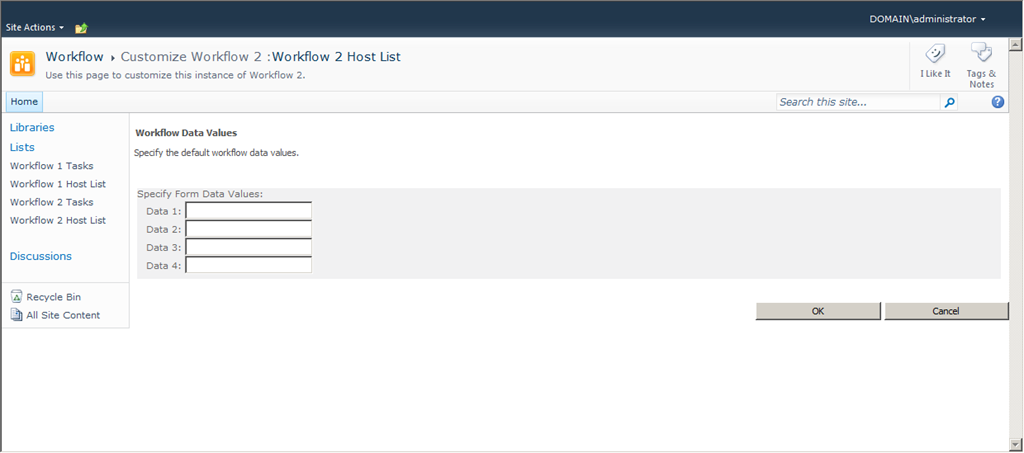
At the bottom of the next page you will find the “Next” button that will open the association form. Click this button.
You see your association form page:
Super! – Press “OK”.
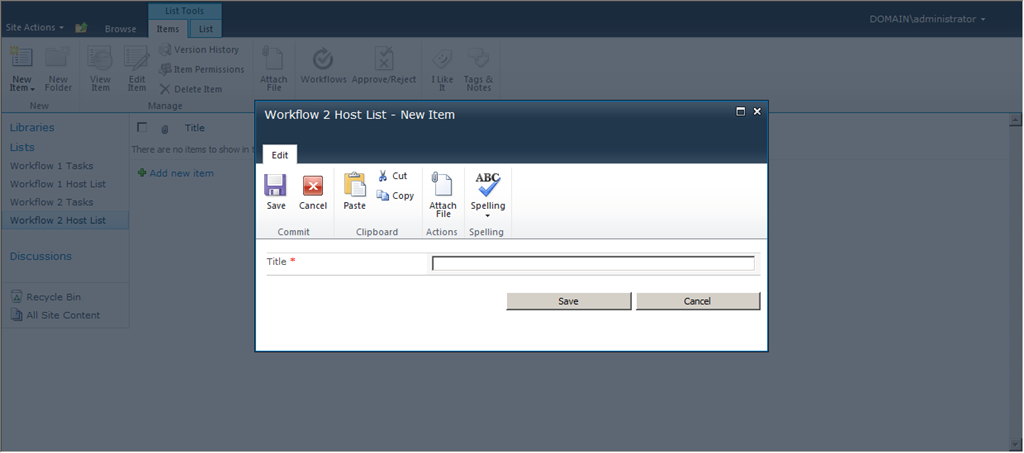
24. Now we add a new list item to the “Workflow 2 Host List” and start the “Workflow 2” manually:
“OK”.
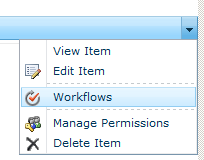
Choose “Workflows” from the context menu of the created list item.
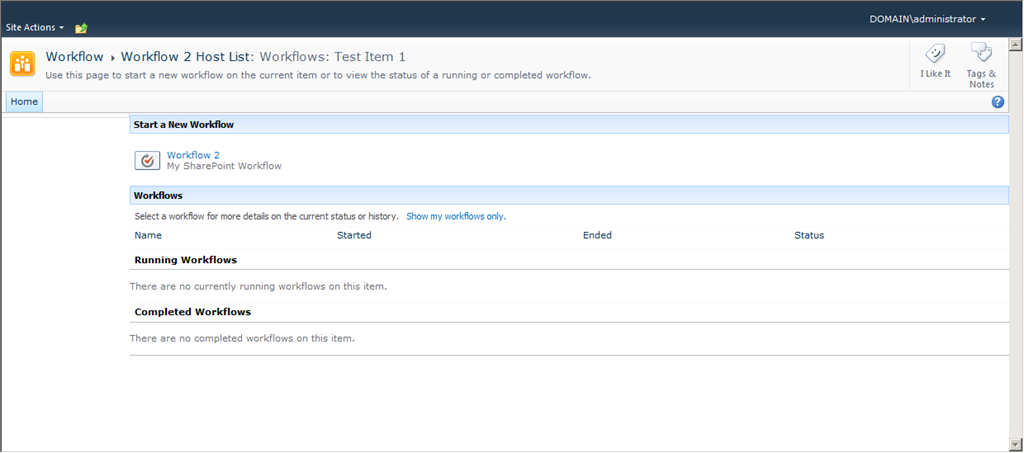
Click “Workflow 2”.
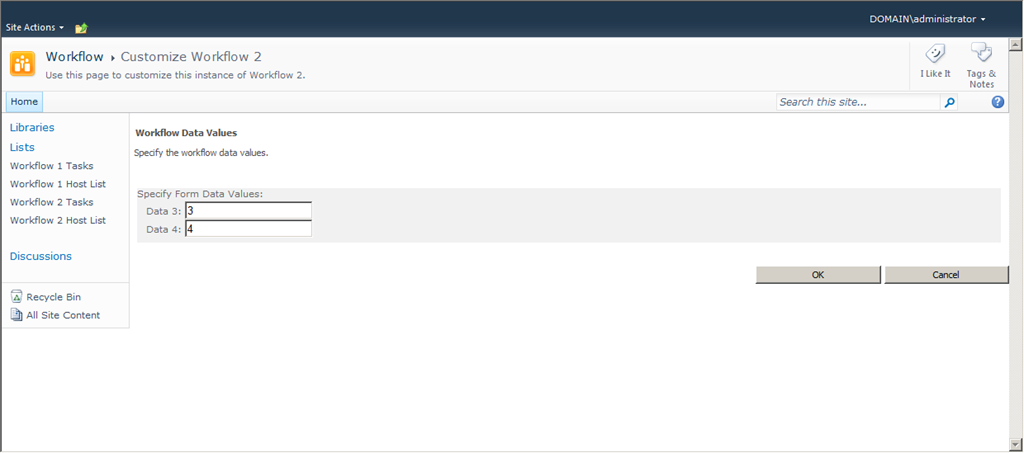
You see your Initiation Form!!
Click “OK” and the workflow will start – and will be “Completed”.
25. Let’s define a Code Activity to use the initiation data.
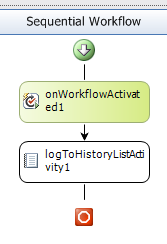
In the workflow designer drag a “LogToHistoryListActivity” activity from the Toolbox pane into the Workflow designer view of “Workflow 2” and drop it behind “onWorkflowActivated1”.
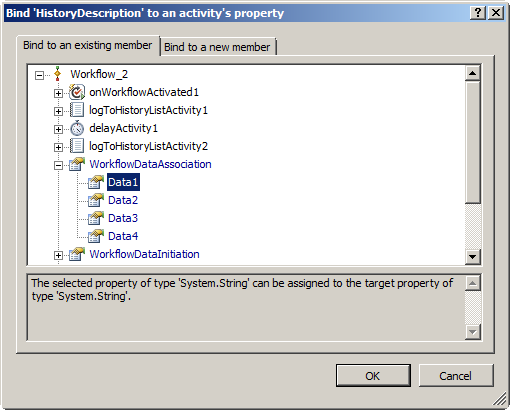
Now select the “logToHistoryListActivity1”. In the Properties pane select the property “HistoryDescription” and click the button beside the edit box of this property. In the upcoming dialog we will bind property “Data1” of the WorkflowDataAssociation object to the activities property:
Click “OK”.
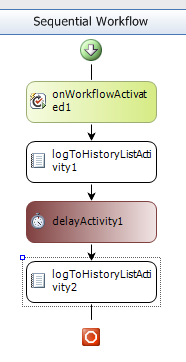
Now we add a “Delay” activity behind “logToHistoryListActivity1” and set the delay “TimeDuration” to “00:01:00”. This forces the workflow to delay the execution of the next activities for the defined amount of time.
Now we add another “LogToHistoryListActivity” and bind it’s “HistoryDescription” property to “WorkflowDataInitiation.Data3” as described above.
(The workflow after adding the two activities)
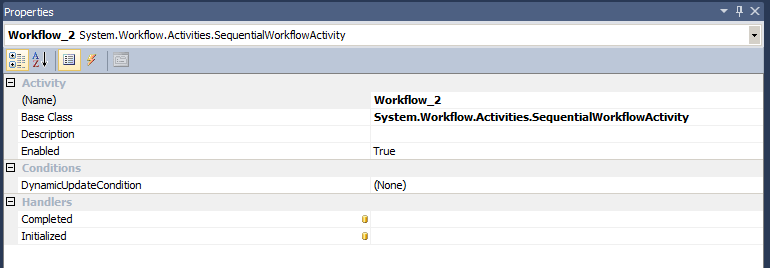
(Properties of the “delayActivity1” activity.)
(Properties of the “logToHistoryListActivity2”.)

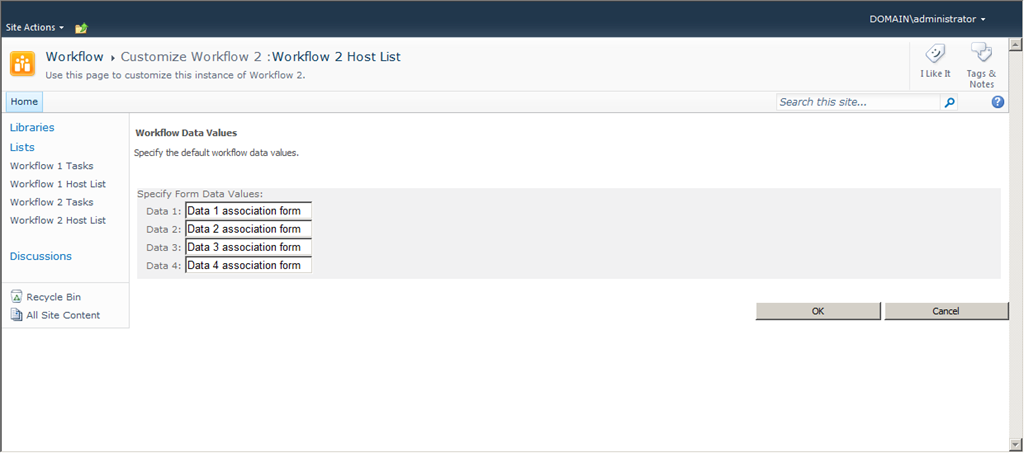
26. Deploy the project and open the “Workflow 2 Host List” in the browser. Modify the association of the “Workflow 2” of the list and enter some information on the association form:
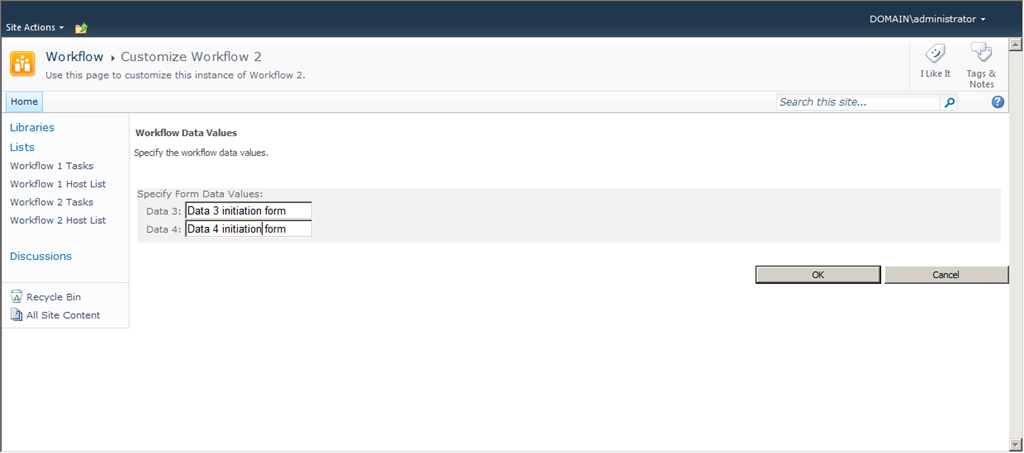
Now add an item to the list, start the “Workflow 2” on this item and enter some data in the initiation form:
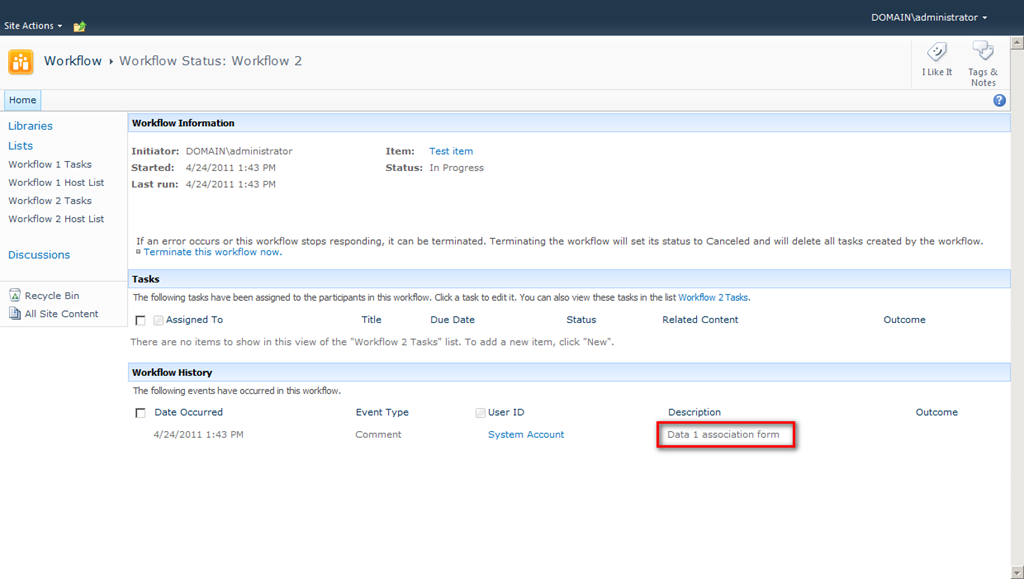
After the workflow starts the information stored in “Data1” you entered in the association form will be written to the workflows history:
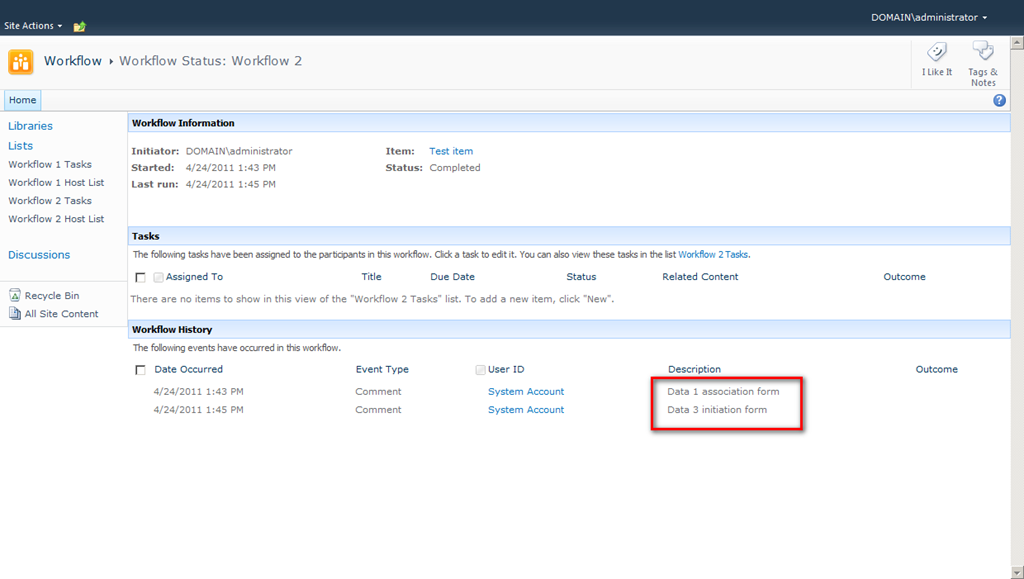
After about 1 minute the workflow will add another workflow history entry with the content of the “Data3” property entered in the initiation form:
27. That’s it! – Everything works as expected. – Thanks for reading! -
Please post your comments or question!