Walkthrough: Creating a simple Sequential Workflow with a custom Task Form in SharePoint 2010 using Visual Studio 2010 (Part 3 of (2+1))
This article belongs to these previous posts:
You should read this article if you have problems to deploy my sample project on Codeplex (http://spworkflowdemo.codeplex.com/) in Visual Studio 2010.
1. Download the code and copy them into your sources folder.
2. Create a site collection in SharePoint 2010, e.g. “http://sharepoint.local/sites/workflow”. Use “Blank Site” site template.
3. Open the solution file in Visual Studio 2010 (file with extension “.sln”).
4. In the Solution Explorer pane select the project node.
5. Set the “Site URL” property to your previously created SharePoint Site (see step 2 above).
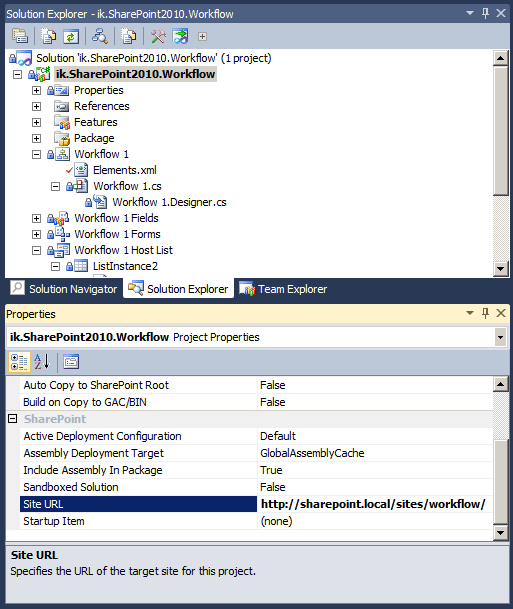
6. In the Solution Explorer pane select the “Workflow 1” node in the project.
7. In the Properties pane modify the value of “Display Name”. Set it to “Workflow 1”.
8. Now click into the values edit box of “History List” (or “Target List” or “Task List”). This will open a wizard.
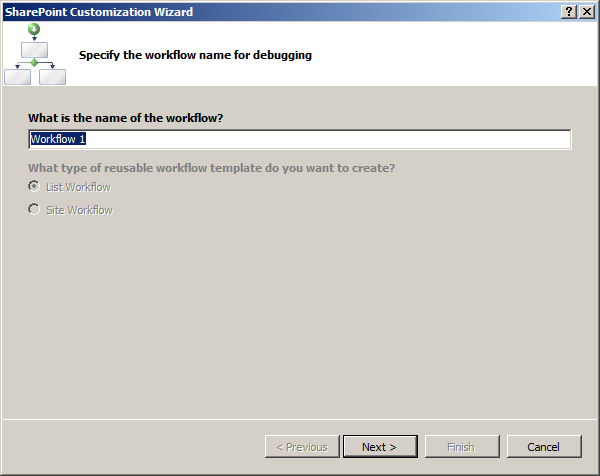
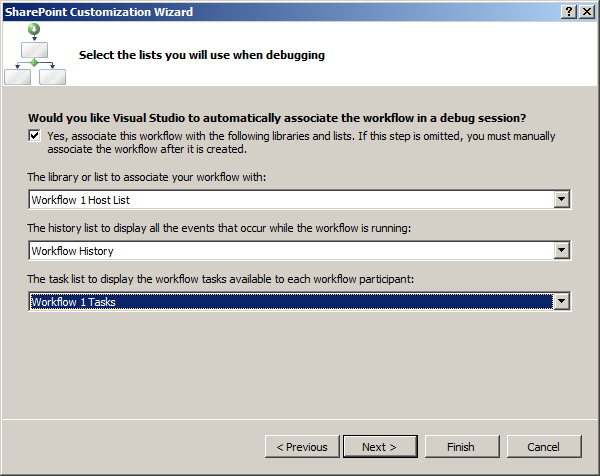
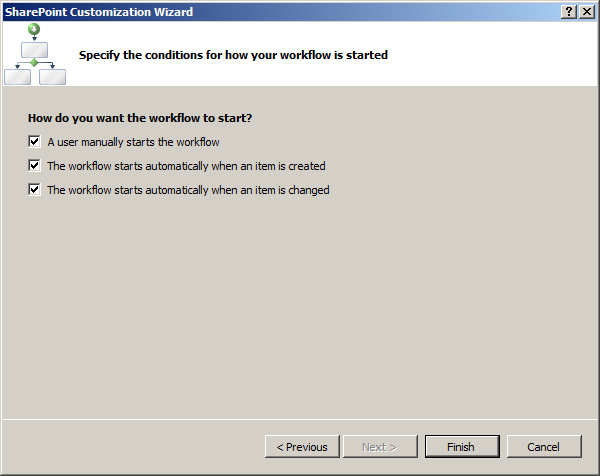
9. In the wizard specify the values of the Workflow Association. Choose the values shown in following screenshot:
Step “A”:
Click “Next”.
Step “B”:
Click “Next”.
Step “C”:
Click “Finish”.
10. Now you should be able to deploy the project.